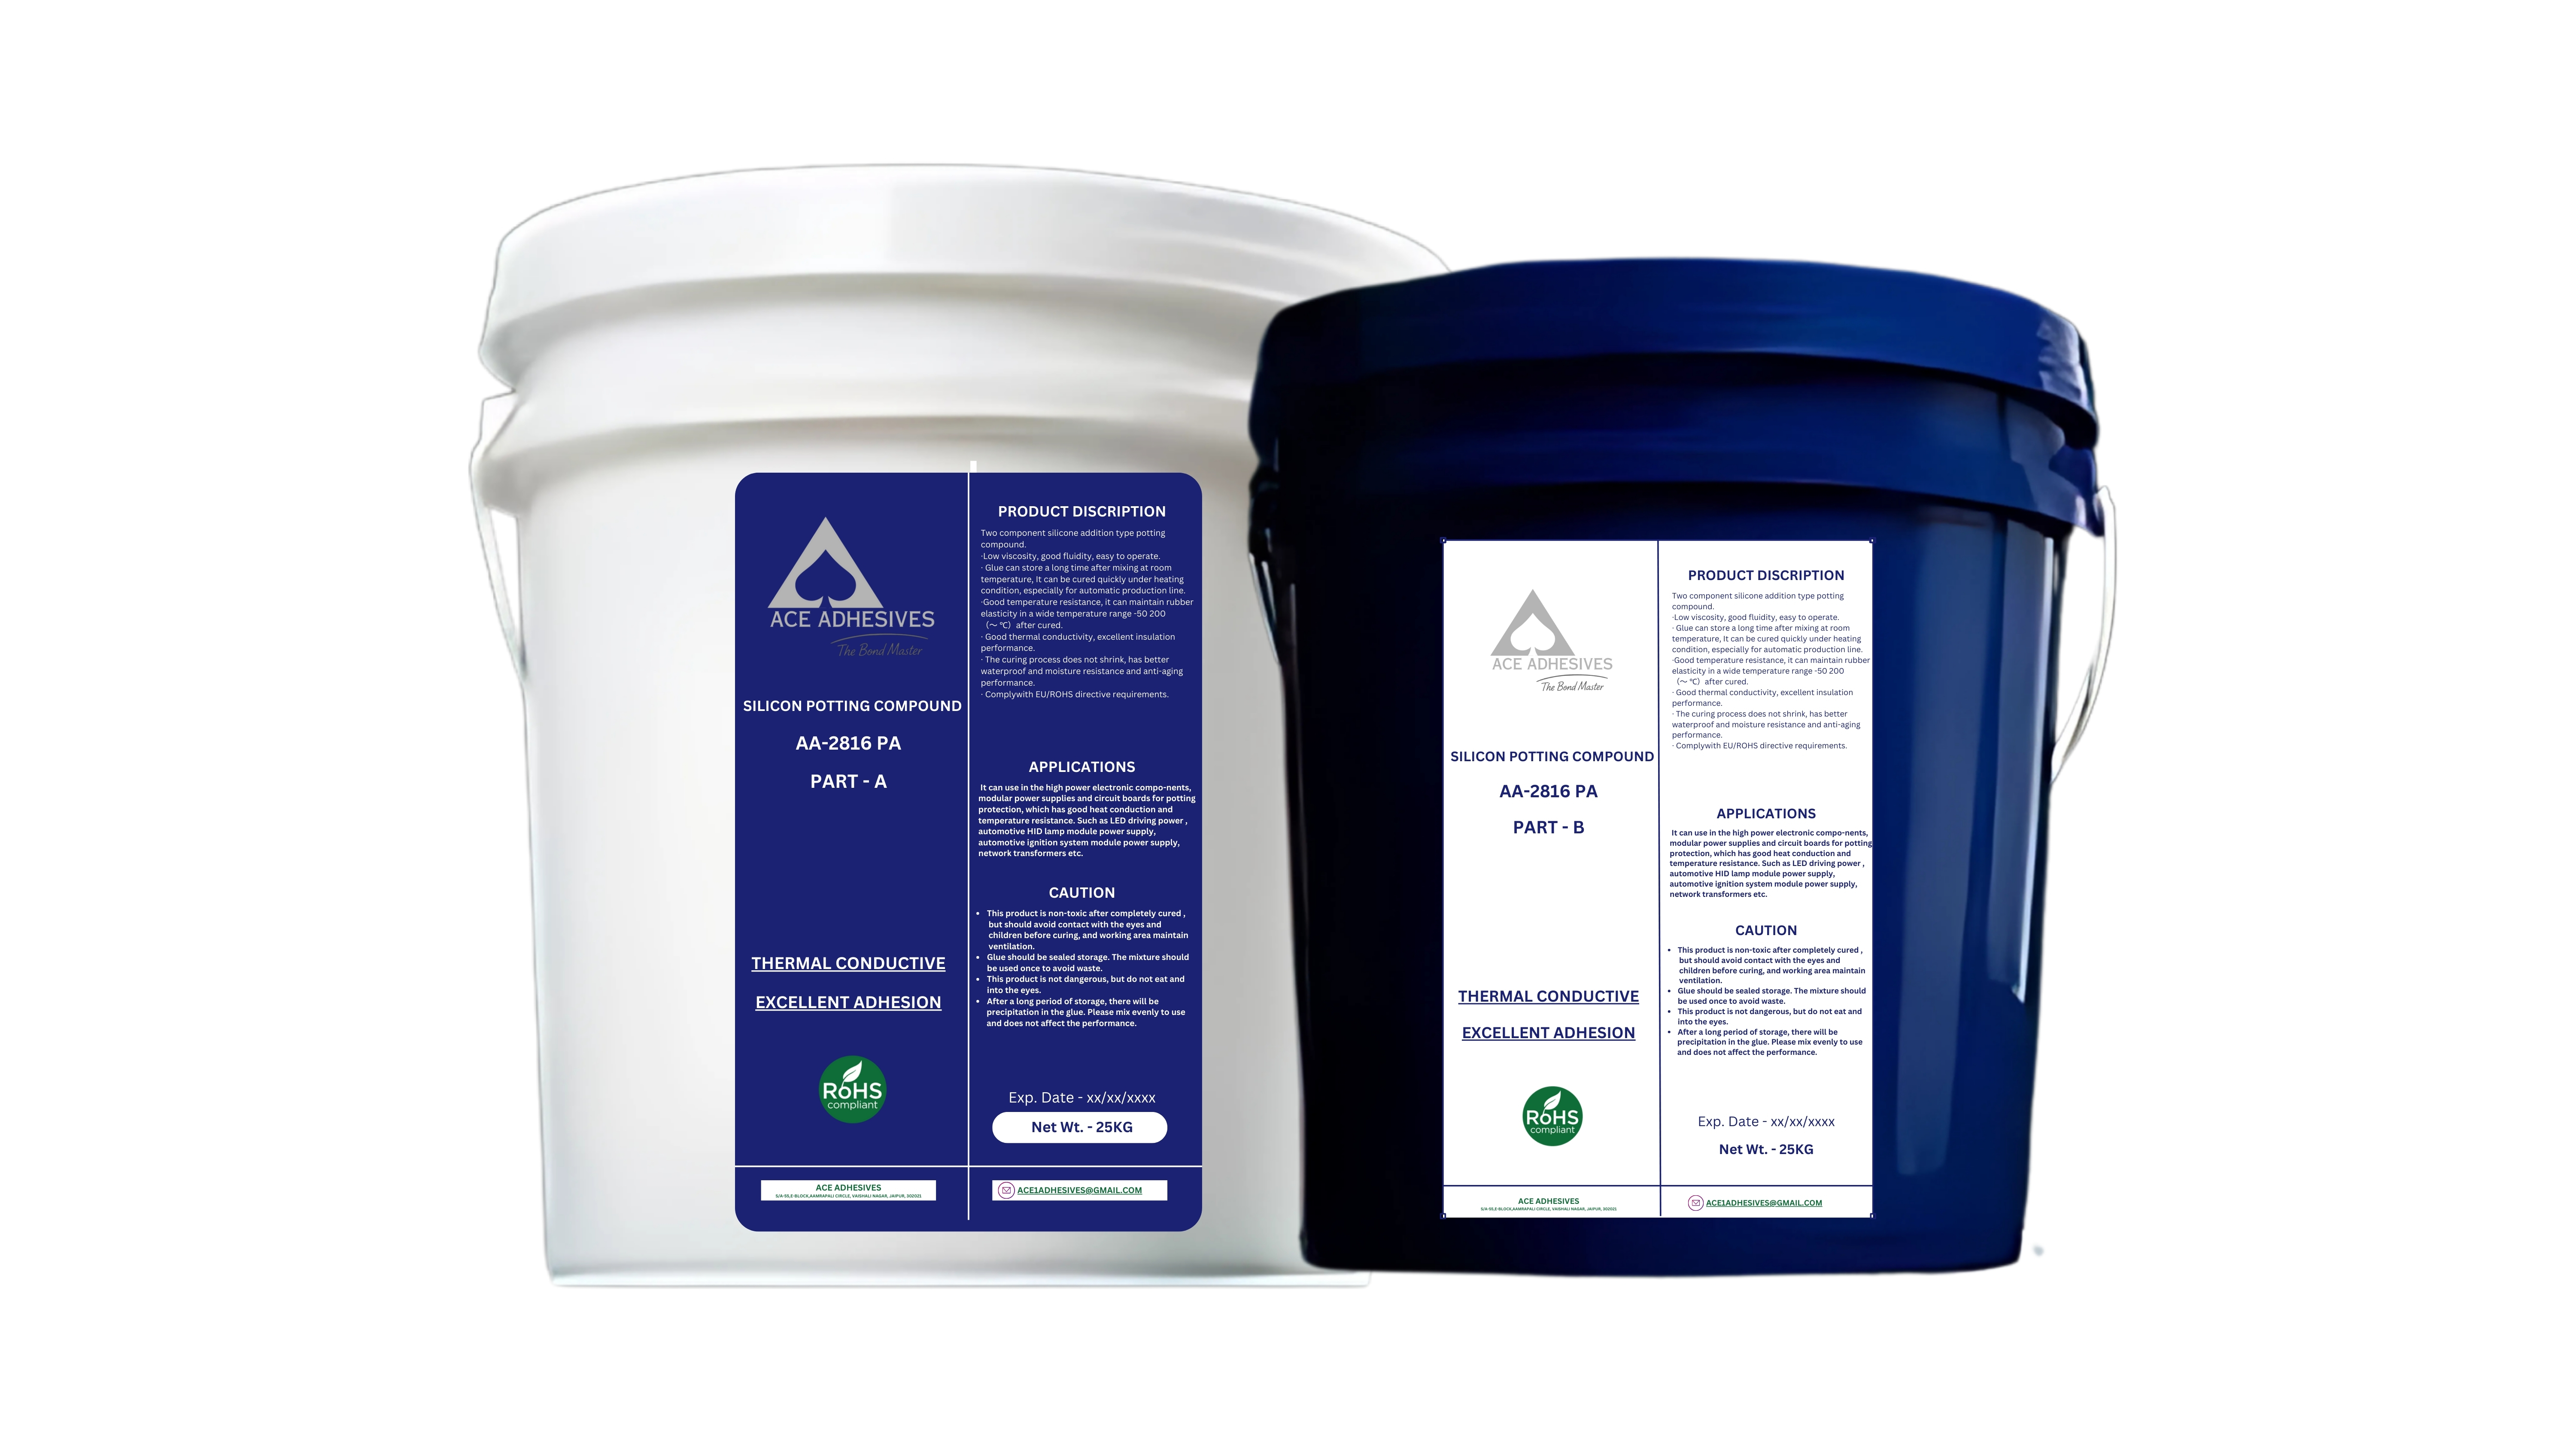
Stir Part A and Part B separately, because the filler settles. Weigh them 1:1 by weight and mix for 2 to 3 minutes until the colour is even with no streaks. Remove the air under vacuum if you can, and pour slowly into one corner. Let it cure for 2 to 5 hours at room temperature, or 12 to 30 minutes at 80 °C. Most potting problems, such as bubbles, soft spots and sticky surfaces, come from the steps before the pour.
This guide is written for AceAdhesive Silicone Potting Compound grades AA-2887 PA, AA-2801 PA, AA-2816 PA and AA-2803 PA. It applies to most two-part 1:1 addition-cure silicones.
What you need
- A digital scale
- Clean plastic or metal mixing cups, about 3 times the volume you will mix
- Clean, flat stirring sticks, with separate ones for Part A and Part B
- Nitrile gloves. Do not use latex gloves, because they can stop the cure.
- A vacuum chamber (recommended) and an oven for heat curing (optional)
Step by step
- Prepare the part. The board must be clean and dry, with flux residue removed. If you clean with a solvent, let it evaporate completely. Bring the parts and the material to room temperature, about 25 °C.
- Stir each part in its own container. The thermally conductive filler settles during storage. This is normal and does not affect performance once it is mixed back in. Stir Part A and Part B separately, scraping the bottom and sides, until each is uniform. Use a separate stick for each, and never swap the lids.
- Weigh 1:1 by weight. Use the scale; do not measure by eye or by volume. For example, use 100 g of Part A and 100 g of Part B. Mix only as much as you can de-air and pour straight away.
- Mix thoroughly. Mix for 2 to 3 minutes, scraping the sides and bottom of the cup and folding the material over. Continue until the colour is even with no streaks; on grades with a black Part A and a white Part B, this means a uniform grey. Stir steadily instead of whipping, to avoid beating in air.
- Remove the air (recommended). Place the cup in a vacuum chamber. The mix will rise as the bubbles expand, which is why the cup must be about 3 times the mix volume. Let air back in if it nears the rim, then repeat until the foam collapses, usually 5 to 10 minutes. Without a vacuum chamber, let the mix stand for a few minutes and pour slowly.
- Pour. Pour in a thin, steady stream into one corner or the lowest point, so the compound flows around the components and pushes air ahead of it. For tall or densely packed boards, pour in two stages. Pour promptly, because the mix thickens as it starts to cure. Finish well before the surface-dry time on the data sheet, which is 30 to 75 minutes at 25 °C depending on the grade. Warmer conditions shorten this time.
- Cure. Leave it at room temperature or put it in an oven, using the times in the table below.
- Check. Press the surface with a fingernail. It should be dry, firm and rubbery. If any spots are sticky, see the troubleshooting table below.
Cure times by grade
Swipe sideways to see the whole table →
| Grade | Room temperature | Heat cure at 80 °C | Surface dry (25 °C) | Hardness |
|---|---|---|---|---|
| AA-2887 PA 0.87 W/m·K | 2.5 h at 25 °C | 12 to 15 min | 55 min | 45 to 55 Shore A |
| AA-2801 PA 1.0 W/m·K | 3 to 3.5 h at 30 °C | 15 to 18 min | 65 to 75 min | 50 to 55 Shore A |
| AA-2816 PA 1.6 W/m·K | 2 to 3 h at 30 °C | 15 to 18 min | 30 to 45 min | 55 to 65 Shore A |
| AA-2803 PA 3.0 W/m·K | 2 to 3 h at 30 °C | 20 to 30 min | 40 to 60 min | 40 to 45 Shore A |
Room-temperature cure slows down considerably in cold weather. In winter, heat curing at 80 °C is recommended. Large or deep fills take longer in an oven, because the whole mass has to warm up first. Let parts cool before handling and electrical testing.
Troubleshooting
| Problem | Likely cause | What to do |
|---|---|---|
| Sticky or liquid only where it touches certain parts | Cure inhibition by a contaminant | See why silicone potting does not cure |
| Soft or sticky patches throughout, or streaks | Wrong ratio, poor mixing, or parts not stirred before use | Remove the soft material and re-pot. Do not add extra Part A or B on top. |
| Bubbles or voids | Air beaten in while mixing, or trapped under components | De-air under vacuum, pour slowly from one side, pour in two stages |
| Very slow cure | Low temperature | Heat cure at 80 °C |
| Mix thickens before you finish pouring | Batch too large, or too warm | Mix smaller batches |
Storage and safety
- Store both parts in sealed containers at 25 to 30 °C, as stated on the data sheet. Close the lids straight after use.
- Keep Part B sealed and away from water, alcohols, acids and bases.
- Avoid contact with the eyes, wear gloves and work in a ventilated area. Full details are in the MSDS on the product page.
Common questions
Can I mix by volume?
Weigh it. The 1:1 ratio on our data sheets is by weight, and a scale gives consistent results batch after batch.
Does the potting shrink when it cures?
No noticeable shrinkage. Addition-cure silicone keeps its volume as it cures, so it does not pull away from components or the housing.
Does humidity matter?
Addition-cure potting does not need moisture to cure, unlike RTV. Our data sheet values are measured at 25 °C and 65% relative humidity. Keep the parts dry, because moisture on the board can cause bubbles.